

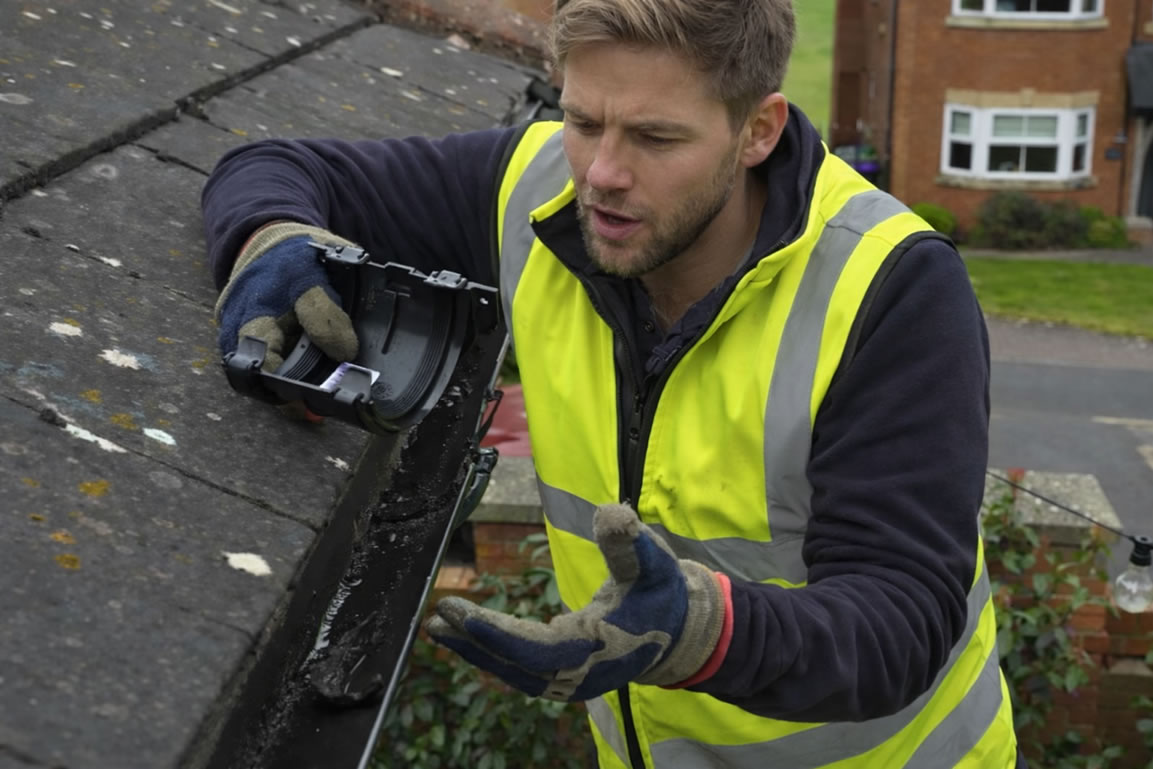
A leaking gutter rarely stays “just a drip”. Instead, water runs down brickwork, soaks mortar joints, and can trigger internal damp patches over time. Therefore, the quickest win usually comes from diagnosing the type of leak first, and then matching the repair to the actual fault.
Below is a practical guide you can use to understand the common causes, choose the right repair, and sanity-check quotes.
First, confirm what kind of leak you have
Leak at a joint (the most common)
You will often see drips at union pieces, corners, or end caps. In most cases, a joint leaks because the rubber seal has moved, perished, or filled with debris. As a result, water escapes during heavier rain rather than in light showers.
Leak from overflow (looks like a leak, but isn’t)
If the gutter overflows during rain, the “leak” usually comes from:
- a blockage (leaves, moss, silt)
- incorrect fall (water sits instead of draining)
- sagging brackets (the run dips)
NHBC notes that wet patches on walls below can indicate blocked gutters or downpipes, and it recommends cleaning gutters at least once per year.
Leak from a crack or split
Older uPVC can crack due to UV exposure and temperature changes. Similarly, impact damage (ladder knocks) can split a length or an outlet.
Leak from the downpipe
Downpipe joints, offsets, and shoes can leak or block. Consequently, water backs up and forces overflow at the nearest gutter joint.
What a proper leaking gutter repair usually involves
1) Clear the cause before sealing anything
A good contractor will first clean the run and check the downpipe flow. Otherwise, they might “fix” a joint while the gutter still overflows elsewhere.
Many UK guides recommend at least twice-yearly cleaning (typically spring and autumn) as a rule of thumb, especially near trees.
2) Re-seat and renew joint seals (instead of smearing sealant everywhere)
For uPVC systems, the best fix often involves:
- removing the joint/corner
- cleaning out silt and moss
- checking the rubber gasket
- refitting with correct alignment and expansion allowance
Sealant can help in specific situations, however, heavy reliance on sealant often signals that the underlying joint fit or fall still needs correction.
3) Re-fix brackets and restore the fall
If the gutter sags, the contractor should replace failed brackets and reset the fall to the outlet. As a result, water stops pooling, so joints stay under less stress.
4) Replace short sections when cracks keep returning
If a length has become brittle or distorted, a small replacement section usually outperforms repeat patching. In addition, it can improve appearance and flow.
Typical UK costs for leaking gutter repair
Costs vary by access and height, so a “cheap” quote can jump if the job needs scaffolding or difficult rear access. Still, these benchmarks help you sense-check pricing:
- Leaking gutter joint repair: approximately £60–£90
- Repairing a single gutter length (medium semi): around £120–£180
- Minor repairs (broad guide): often £100–£200 depending on complexity
Therefore, if you see a quote far above these ranges, check whether it includes multiple fixes in one visit, difficult access, or partial replacement.
Repair vs replace: when replacement becomes the smarter option
Choose repair when:
- the gutter is generally sound
- the leak sits at one joint/corner/outlet
- the contractor can restore correct fall and secure fixings
Choose gutter replacement when:
- several joints leak across the same run
- the gutter has warped, cracked in multiple places, or become brittle
- bracket failures repeat (often because the run has distorted)
In short, repeated “small repairs” often cost more than one planned replacement over a year or two.
What to look for in a contractor and quote
Because guttering looks simple, quality varies. Therefore, insist on:
- A written quote that lists what they will repair/replace and what they will exclude
- Insurance confirmation (public liability as a minimum)
- Clear scope: cleaning, downpipe check, bracket re-fix, joint reseat, and any section replacements
- Before/after photos for anything hard to see from ground level (corners, outlets, rear elevations)
TrustMark’s consumer guidance also emphasises written quotations/contracts and sensible checks before you proceed.
A quick checklist to request better quotes
Send the contractor:
- property type and height (terrace/semi/detached; storeys)
- where the leak shows (front/rear/side; corner/outlet/middle of run)
- when it happens (light rain vs heavy rain; overflow vs dripping)
- access notes (conservatory below, narrow passage, shared access)
- photos (wide shot + close-up of the leak area)
Then ask them to confirm:
- whether they will clear and test the downpipes
- whether they will reset fall and replace any failed brackets
- what parts they will replace (joint, corner, outlet, short length)